My mom used to make these chocolate cake balls with leftover cake scraps, and I’d sneak a few before they even made it to the plate—don’t tell her that! Now, I’m totally obsessed with sharing this recipe with you because it’s so easy, yet it feels like a big hug from childhood every time I pop one in my mouth.
The best part? You don’t need to be a baking pro to nail these. With a simple chocolate box cake and some store-bought frosting, you’re basically halfway there already. These little handheld desserts are perfect for parties, lazy weekends, or just because you deserve something sweet. So, let’s jump into making these cake balls that are, honestly, too good to share—but you might anyway.
Why You’ll Love This Chocolate Cake Balls
Ok, so why are these chocolate cake balls about to become your new go-to? Here’s the scoop:
- So easy, it’s almost ridiculous: You’re using a chocolate box cake and store-bought frosting, so half the work’s done for you. Love that for us!
- Bite-sized perfection: These are handheld desserts for parties that don’t leave you feeling stuffed—just satisfied. Mmm, right?
- Totally customizable: Sprinkles, drizzles, or even a coffee cream twist—you can make these cake balls your own, and it’s very fun every time.
- No leftovers wasted: Got cake balls from leftover cake? This recipe turns scraps into gold. You don’t believe how good it gets!
- Crowd-pleaser alert: Seriously, bring these to a party, and people will love you forever. It’s that simple.
Best Chocolate Cake Balls You Need
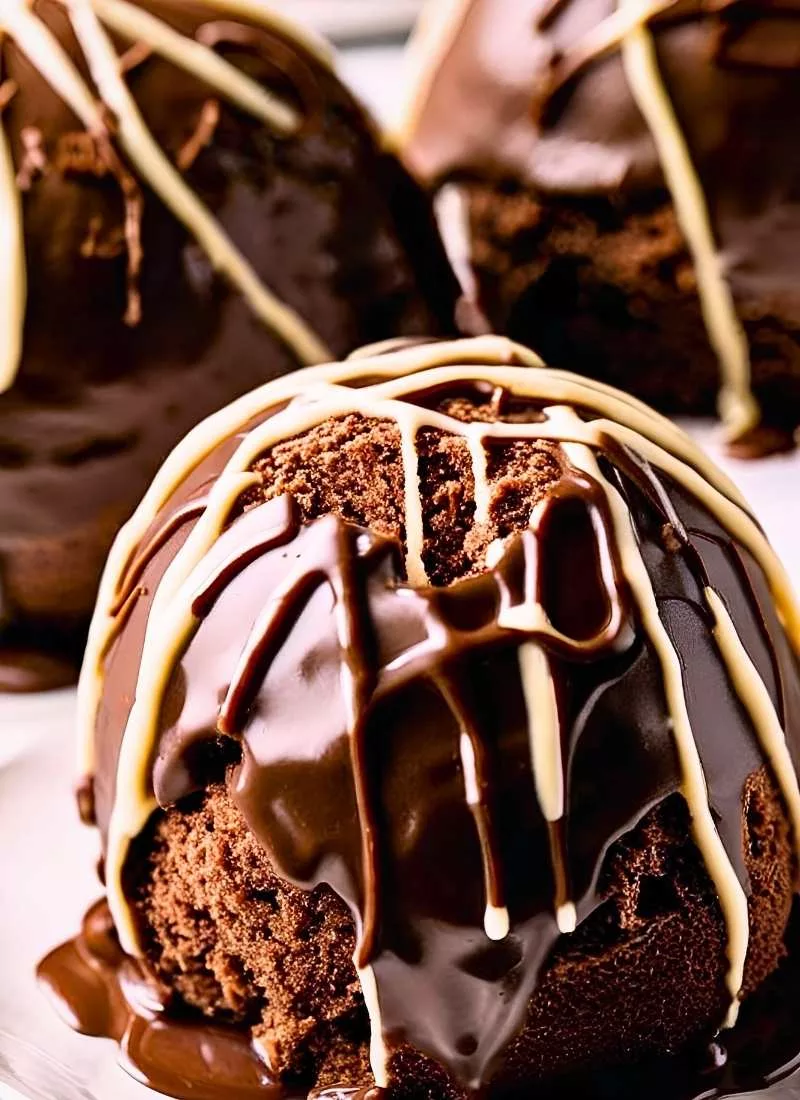
Let’s be real—these aren’t just any cake balls. They’re the kind that make you go, “Hmm, I could eat ten of these and still want more.” What makes them the best? For starters, they’re moist, fudgy, and coated in that glossy microwave dipping chocolate that cracks just a little when you bite in. Plus, they’re quick enough to whip up for a last-minute craving or an impromptu birthday party snack. I’ve tried fancy homemade chocolate cake versions, but honestly, the chocolate box cake hack keeps it simple without skimping on flavor. You’ll see—it’s like your kitchen turns into a dessert wonderland in no time.
Ingredients Notes
For the Cake
- 1 box (15.25 oz) chocolate cake mix + ingredients needed to prepare (eggs, oil, water): Grab your favorite brand—doesn’t matter which, as long as it’s chocolate. You’ll need whatever the box says (usually eggs, oil, and water), so check that real quick. I love how this keeps things fuss-free.
For the Filling
- 1 cup (about 14 oz) prepared chocolate frosting: Store-bought is the move here—think creamy, dreamy, and ready to go. I usually scoop out about half to three-quarters of the tub because too much makes it mushy, and we’re not about that.
For Coating & Decoration
- 1 container (10 oz) microwave dipping chocolate or almond bark: This is the magic that turns your cake balls into shiny little gems. Almond bark works too—it’s super easy to melt and tastes amazing.
- Sprinkles for topping: Go wild here! Rainbow, chocolate, or even holiday-themed ones for easy Christmas cake balls. It’s your call, and it’s so fun to mix it up.
Step-by-Step Instructions for Chocolate Cake Balls
Ok, let’s get into the fun part—making these chocolate cake balls step by step. It’s so simple, you’ll wonder why you haven’t been doing this forever.
Bake the Cake
First things first, grab that 1 box (15.25 oz) chocolate cake mix and follow the package directions to bake it in a 9×13-inch pan. Pop it in the oven at whatever temp the box says—usually around 350°F—and bake for about 25-30 minutes. You’ll know it’s done when a toothpick comes out clean. Let it cool completely, because trust me, warm cake is a crumbly mess to work with. I usually bake mine in the morning and let it chill out while I sip some coffee—it’s a little “me time” before the real fun starts.
Pro Tip: Poke a few extra holes with that toothpick to check doneness—it’s better to be sure than sorry with a soggy center.
Crumble It Up
Once your cake’s cool, it’s time to get hands-on. Break it apart with your fingers into a big mixing bowl until it’s all fine crumbs. If there’s a stubborn chunk, a fork works wonders to smash it down. You want it super crumbly—like chocolate sand—because that’s what makes the cake balls hold together later. I love this part; it’s so satisfying to see that perfect cake turn into something new.
Pro Tip: If you’ve got cake balls from leftover cake, this is your moment—toss those scraps in and crumble away!
Mix in the Frosting
Now, scoop in 1 cup (about 14 oz) of prepared chocolate frosting—start with half the tub and mix it in with a spoon. Keep going until the crumbs stick together, but don’t go overboard. Too much frosting, and it’s mush city, which isn’t the vibe we want. I usually stop at three-quarters max—it’s just right. Pop the bowl in the fridge for about 20 minutes to firm up; it makes rolling so much easier.
Pro Tip: Give it a taste here (you know you want to)—it’s like a sneak peek of the goodness coming your way.
Roll the Balls
Take the bowl out of the fridge, and let’s roll! Scoop out small chunks—about a tablespoon each—and shape them into balls with your hands. Place them on a plate or cookie sheet lined with wax paper. You’ll get about 30-40, depending on size. Then, slide them into the freezer for 1 hour. This step is key—it keeps them from falling apart when you dip. I love watching them firm up; it’s like they’re getting ready for their big moment.
Pro Tip: Wet your hands a little if the mix sticks—it’s a game-changer for smooth balls.
Dip and Decorate
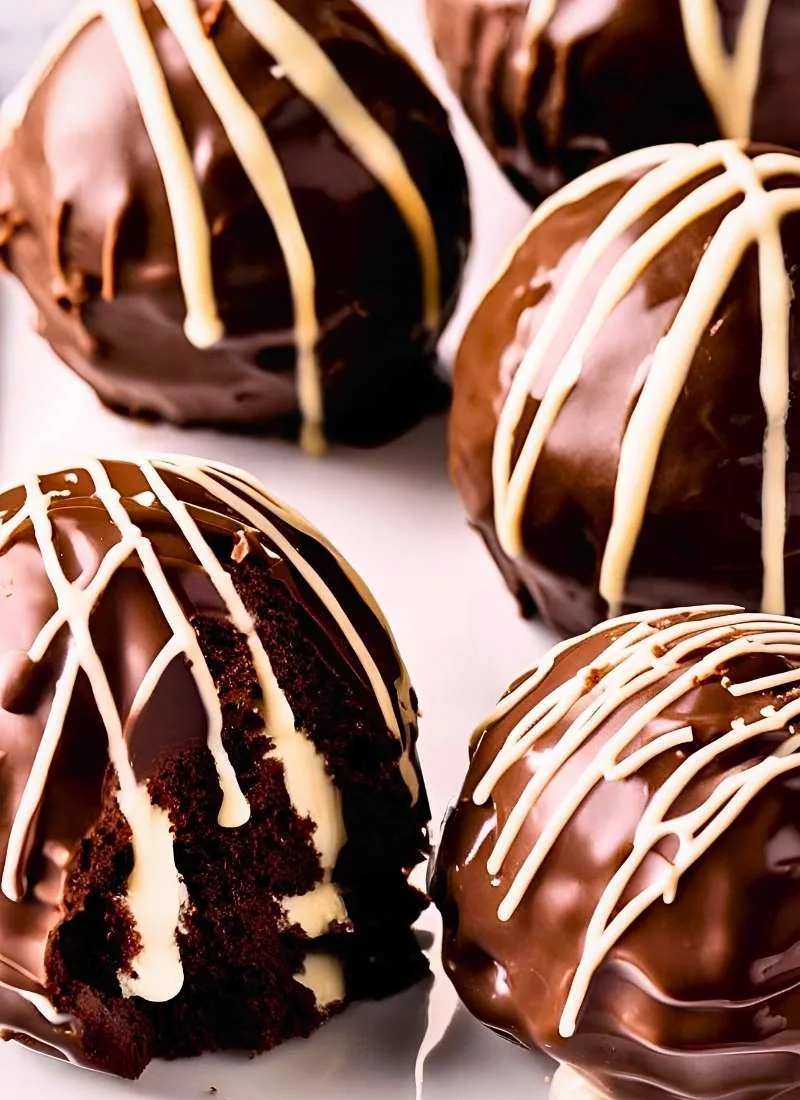
Melt your 10 oz of microwave dipping chocolate or almond bark according to the package—usually 30-second bursts in the microwave, stirring in between. Grab a wooden skewer, poke it into a cake ball, and dip it into the chocolate. Swirl it around, then tap off the excess so it’s not dripping everywhere. Stick the skewer into a mug or glass to dry, and sprinkle on those sprinkles right away before it sets. Repeat with the rest. It’s messy, fun, and so worth it when you see those shiny chocolate cake balls lining up.
Pro Tip: If skewers feel tricky, use a fork to dip—just don’t burn your fingers!
Storage and Serving
Leftovers
Got extras? No problem! Store these cake balls in an airtight container in the fridge for up to 4 days. They stay fudgy and delicious, though mine never last that long—too tempting! Just keep them cool so the chocolate doesn’t melt.
Reheating Tips
Ok, these don’t really need reheating, but if you want them a bit softer, let them sit out for 10-15 minutes before serving. The chocolate stays intact, and the inside gets that mmm-worthy texture again. Love that little trick!
Tips for Success
- Don’t over-frost: Seriously, a little chocolate frosting goes a long way—keep it balanced for the best texture.
- Chill is your friend: Freezing before dipping is non-negotiable; it’s what makes them hold up. Trust me on this!
- Work fast with chocolate: That microwave dipping chocolate sets quick, so dip and sprinkle like your life depends on it.
- Size matters: Keep the balls small—about a tablespoon—so they’re easy to eat and dip without breaking apart.
Variations
- Vanilla twist: Swap the chocolate cake mix for a vanilla one—still amazing with chocolate coating.
- Coffee kick: Mix a teaspoon of instant coffee into the frosting for a coffee cream vibe. Mmm, so good!
- Festive flair: Use red and green sprinkles for easy Christmas cake balls—perfect for holiday vibes.
- Less sweet: Cut the frosting to ½ cup if you’re not into super-rich cake balls.
What Others Are Saying About the Recipe
- Sarah’s sweet shock: “I made these for my kid’s birthday, and oh my gosh, they were gone in minutes. I love how easy they were, but I’m still stunned at how much everyone raved about them!”
- Mike’s mmm moment: “My wife made these, and I’m not gonna lie, I ate five before dinner. They’re so fudgy—it’s like a hug from my childhood I didn’t know I needed.”
- Jenny’s party win: “Brought these to a potluck, and people wouldn’t stop asking for the recipe. I felt like a dessert queen, and honestly, it was too fun to make!”
FAQs about Chocolate Cake Balls
Can I use homemade cake instead?
Totally! A homemade chocolate cake works just as well—just crumble it up the same way. It might be a bit more work, but the flavor’s incredible if you’ve got the time.
How do I keep them from falling apart when dipping?
Freezing is your best buddy here. That 1-hour freeze keeps them solid, so they don’t crumble into the chocolate. You’ll love how smooth it goes!
Can I make them ahead?
Yes, for sure! Make these cake balls up to 2 days ahead and store them in the fridge. They’re just as tasty, and it’s one less thing to stress about.
In Conclusion
These chocolate cake balls are honestly the kind of treat that makes any day better—simple, fudgy, and so darn cute with those sprinkles. I love how they bring back memories of sneaking bites as a kid, and now I get to share that joy with you. They’re perfect for parties, quick snacks, or just treating yourself because, well, you deserve it. Give this easy cake balls recipe a try, and let me know how it goes—I’m dying to hear your stories! Got a fun twist you added? Drop it below—I might just steal it for my next batch!